
In response to the Coronavirus (COVID-19) outbreak, many educational institutions have recommended their students to switch to distance learning or online learning to reduce the chances to get infected and reduce physical contact. This action is challenging because of 1) we have not seen such outbreak before, and 2) because many of the design educators have not used the distance learning before. For me, this transition is still a big challenge.
Related articles:
- Tips to Learn Design Without Going to a Design School
- Why Design Education in the Middle East Doesn’t Meet the Market Needs
- What Designers Think About Design Education in the Middle East Region
There is always something to learn or a problem to solve. So, in this article, I will share some thoughts and tools that can help design educator during this stage and enable delivering for beneficial, smooth and joyful education experience. You can also use this article as a checklist to the main points you need to consider before jumping to the online classroom. Feel free to add your experience and thoughts in the comments area under this article.
Set Up the Setup
When you enter a classroom, everything is ready for you–or it should be. In contrast, distance learning classes are different, mainly when you deliver it from your computer at your home workspace. So, you need to consider both technical and space setup. First, the technical setup is related to both software and hardware specifications includes:
- Stable internet connection with a proper speed that can support both audio and video broadcasting
- A working mic, video, and speakers. These can be either internal or external. Note that the external equipment may be expensive and need more complex comparing with the internal ones. Also, it is crucial to test them before you start the session. You do not want to waste half an hour because one of the equipment is not working
- Proper computer technical specifications especially when you are using screen-sharing, it may slow down your computer

The space setup is related to the place where you will deliver your class. As an educator, your work may be part of your life and already have a working space at home. However, there are some notes that you may consider before jumping to your session:
- Find a quiet place with no dog barking or kids jumping around–trust me you don't want that.
- Ensure you are comfortable especially when the class time is long
- Ensure there is enough good surrounding light especially when you are going to use the video
- Prepare your resources next to you if you want to show to your students such as book copies, notes, pens, and a big glass of water indeed.
- A second screen can be a tremendous asset as you can screen-share content in one screen and see the student comments on the other. If you are using Mac and have an iPad, you can use Apple's feature Sidecar to turn your iPad into a second screen. However, this is not testing when running distance learning applications.
Students' Technical Requirement
The students' technical setup is as important as yours. You don't want to turn your class to a technical support room. Two main tips you need to consider:
- Read the technical requirement of the tool you will use and share it with your students before class time, so they have enough time to prepare their computers or get access to a university computer
- Let the students come to the class bit early to test their speakers and mic if allowed them to use voice.
Alternative Channels
I usually say never trust the technology. Technical problems may occur anytime. So, you need to get prepared by the second method of communication. So, you and the students can get in touch if anyone dropped because of a technical issue. Some use the email. However, I see it less alerting comparing with the chatting apps. I, myself, use Skype but it is up to you choose the method that you and the student feel comfortable to use.
Room Support
When screen sharing, one of the annoying things is that you can't see your students comments and questions. Even with the pop-up messages inside the online tool, it can be distracting. Some, one of the useful tips to have support or assistance. This teaching assistant role can be assigned to a student representative or a student with knowledge of online classes.
Prepare Your Students
Students may already know more tools and resources as we, as educators, know. However, their knowledge is not directly related to the context of the education process.

They are used to physical classes and expect the following class to be like to previous one. So, it is essential to prepare them for this transition and ensure they are clear about the online class details, including:
- Where they will go (the class link) - some tools can be accessed directly by clicking on the room such as Blackboard Ultra, which should include a link to Collaborate (distance learning room) in each course.
- How to access the room - Details of how to access the virtual classroom, for example, if they need to install a specific plugin or a third party application
- When the class start and ends - This may be the same as the physical class time based on your planning
It isn't a Physical Class Anymore
In the physical class, you have direct contact with the students. You can quickly identify if they are connected with the class flow or disconnected. This factor is not available in online teaching. You usually can't see what they are doing and if they understand the taught knowledge. In this case, you may need to alter your presentations and class to ensure proper communication with the students, such as:
- Record the session so students can return it as a future reference
- Take the attendance at the beginning and the end of the class, so you ensure the students already attended the class
- Enrich your presentations with questions, where students can answer by typing in chat area inside the virtual classroom, which will help to connect students with the discussed content
- Use simple slides with fewer words. So, your slide acts as a recap to each information you share with the students
- Use engaging media as much as you can to make the session more beneficial and less boring
In the Room
Unlike the physical class, distance learning class has a wall between you and the students. You teach them through a technological shell. Therefore, the last thing you want is to get them and yourself confused by any disruptions. So, keep the following in mind:
- Turn on Do Not Disturb mode in Mac or similar feature in any other operating system. The last thing you want is to keep getting alerts for every message while teaching.
- Turn the silent mode on your mobile and tell your students to do the same to focus on the teaching. However, you can dedicate time to answer questions to avoid stop teaching every minute to answer questions.
- Prepare your presentation first screen. It is the first slide to introduce your students to the topic that you will discuss
- Arrive 10-15 minutes early to prepare the technical setup, allow students to enter the room and check their setup
The above tips are based on my personal experience with distance learning classes. However, you can alter or modified based on the nature of your course or online session.
Related articles:
- Design Schools Should Teach Systems Thinking and This is Why
- What Designers Need to Learn Aside from Their Design Education
The second part below includes a list of the useful tools that you may use to communicate with your students through online learning platform:
Virtual Learning Platforms
The distance learning platforms are based on where you can share course materials with the students and allow them to enrol to the course. Usually, you will use your university's virtual learning platform.
Blackboard – Most of the universities are already having Blackboard or the newest version (Blackboard Ultra). The good thing about it that you can directly use and get enough support if you have any problems while using it. The only problem with Blackboard, it is hard to implement and need tech support.
Moodle – This is an open-source, free virtual learning tool. While it is free, it has limited customisation capabilities.
Google Classroom – This is a new service from Google. I believe it can be suitable for a small institution as you can directly use it without much administrative setup.
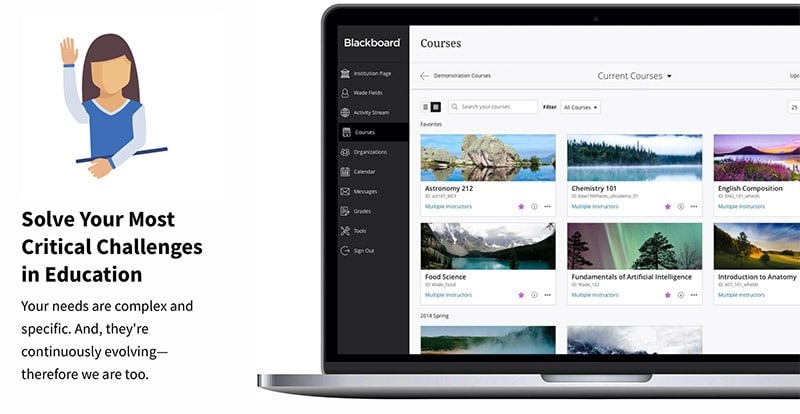
While Blackboard looks complicated, you can still get support from the university technical support. Having it already implemented by many universities helps you to easily use and implement as part of the distance learning strategy.
Virtual Classroom Software
The online virtual room allows you to meet with your students, present the learning materials, chat with them, share audio and video materials, use whiteboards and ask quizzes. Different tools allow a free limited version, which can be sufficient for many classes.
Blackboard Collaborate – This is a tool inside Blackboard. So, if the students can access their Blackboard module, they can see an online room for each module. The advantage of Collaborate that it doesn't require any setup and can easily integrate with your Blackboard module and student lists. The only issue with Collaborate is that the interface is not very usable, comparing other tools like Adobe Connect.
Google Hangouts – This tool allows you to teach the online class with very much tools and capabilities as Collaborate. However, you need to provide instruction for your students to how to access it.
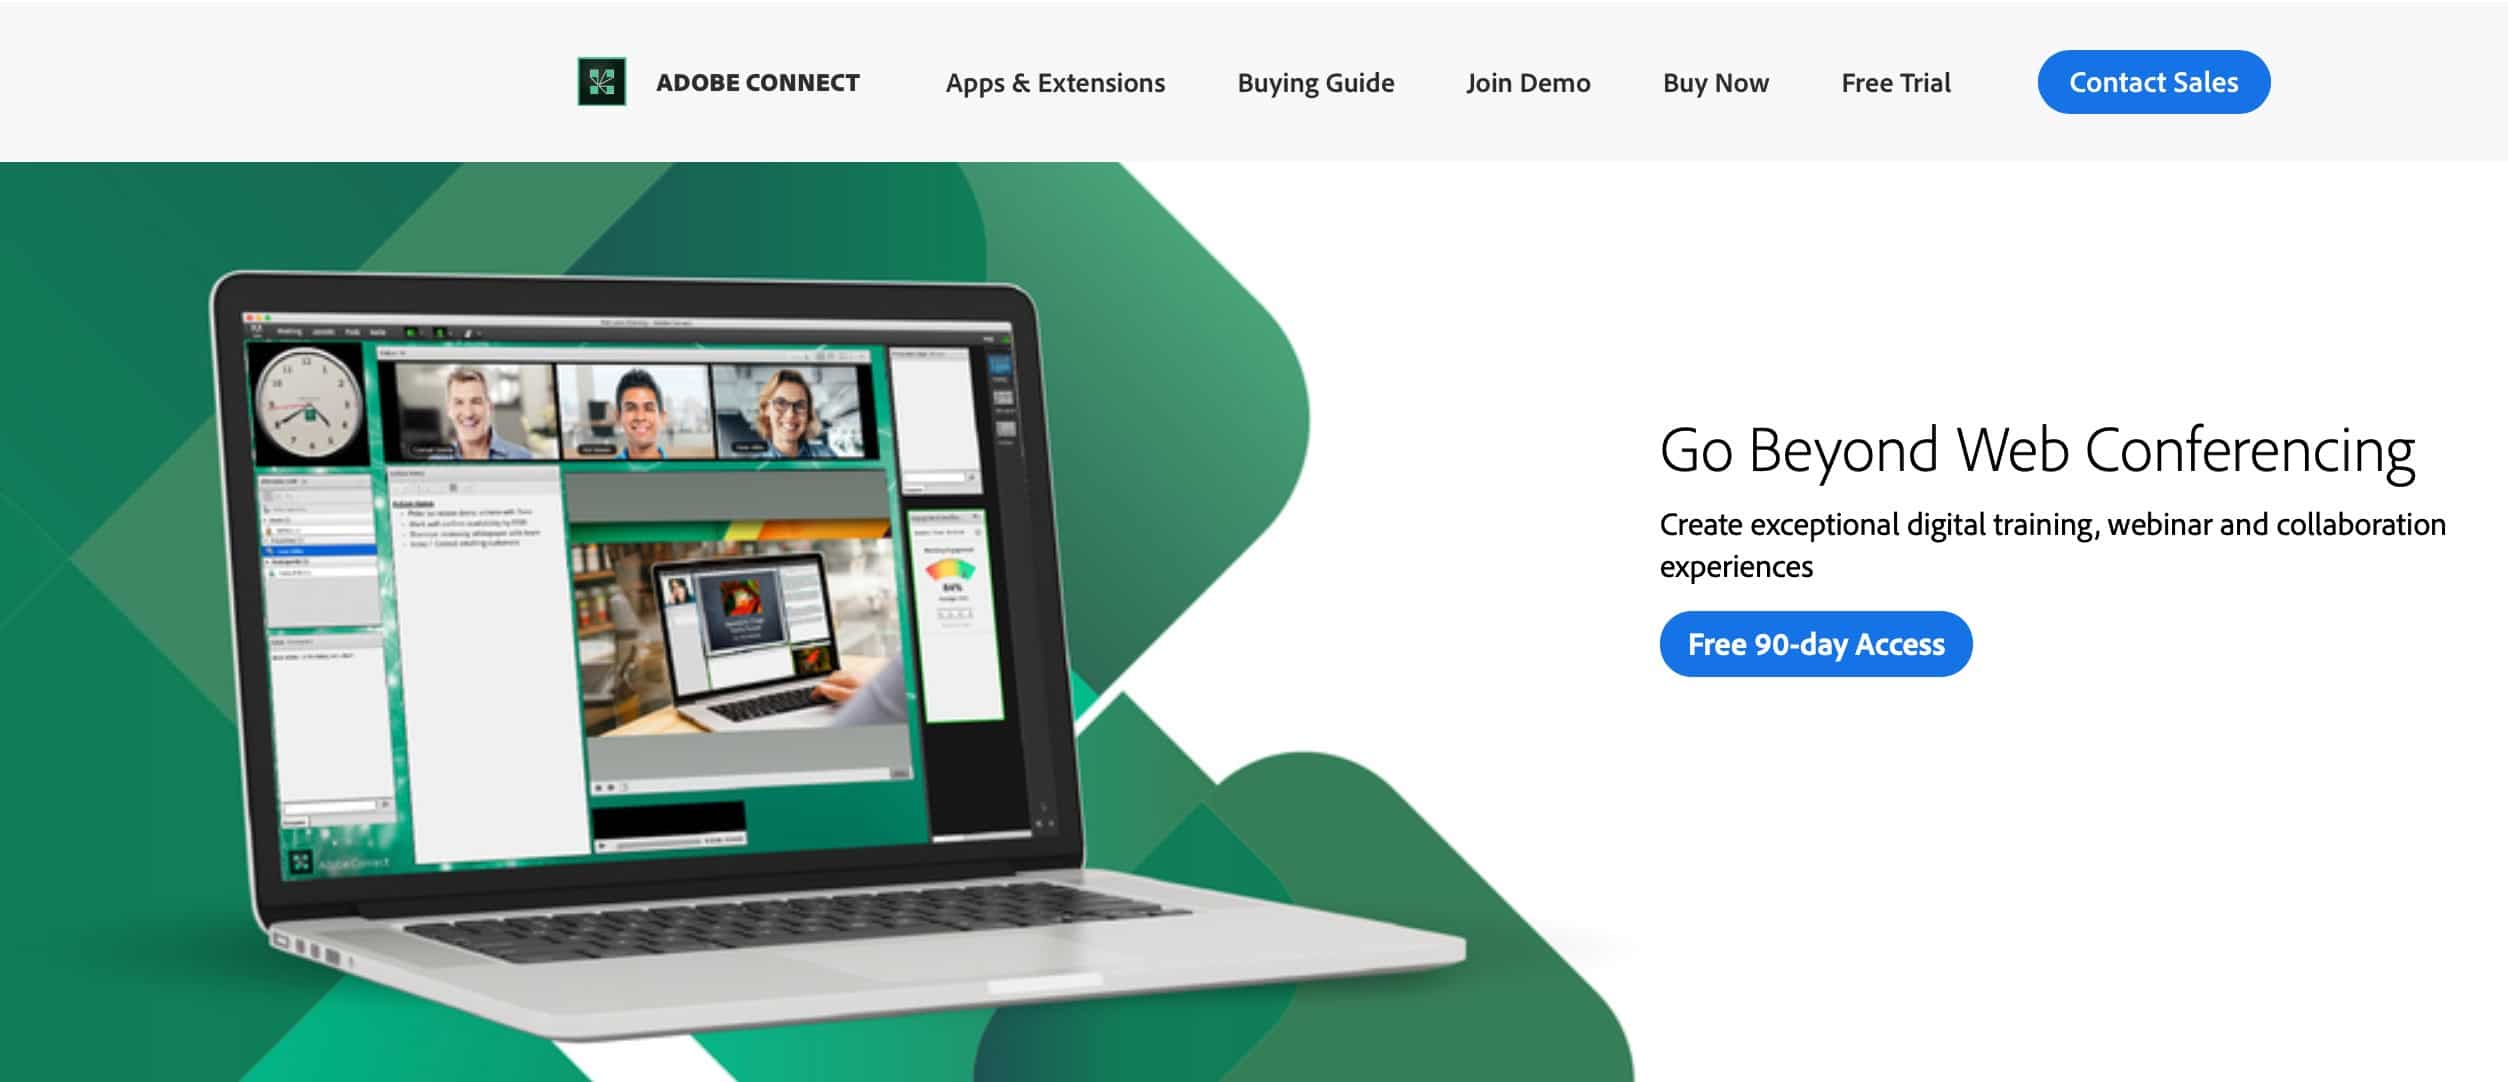
Adobe Connect – Connect is an online tool to use in classrooms and meetings. It provides an attractive interface, and it allows you to create polls and ask questions which students can answer and interact with while they are inside the virtual room. The disadvantages of Connect includes that the free version is very limited in terms of time and capabilities. Additionally, it is not integrated with any of virtual learning platforms such as Blackboard.
GoToMeeting – This virtual meeting room software. So, you may find it limited in terms of learning tools such as asking questions. I, myself, found it not very useable, especially with the many floating windows. Also, it does not allow many attendees in the free version of the software
WebEx – I used this long tool time ago. It is very similar to GoToMeeting in many features including the low usability interface
Join.me – This is a simple tool that you can use with a free account. The only issue with it that it is more suitable for online meetings rather than virtual classrooms
There are lots of virtual classroom software out there. The above are some of the popular tools. Taking the decision which tool to use is based on several factors, including what the university already has, the price and affordability, included tools, and the user interface. For me, Adobe Connect works fine with small classes less than ten, and it requires good internet speed. Collaborate is another useful tool as the students can directly access their Blackboard modules.
Brainstorming and Group Work
Along with virtual classroom management, there are another set of tools that can let students brainstorm and exchange ideas together. Many of these applications have a free account that students can use during their short term projects. Below are some useful tools to create digital brainstorming:
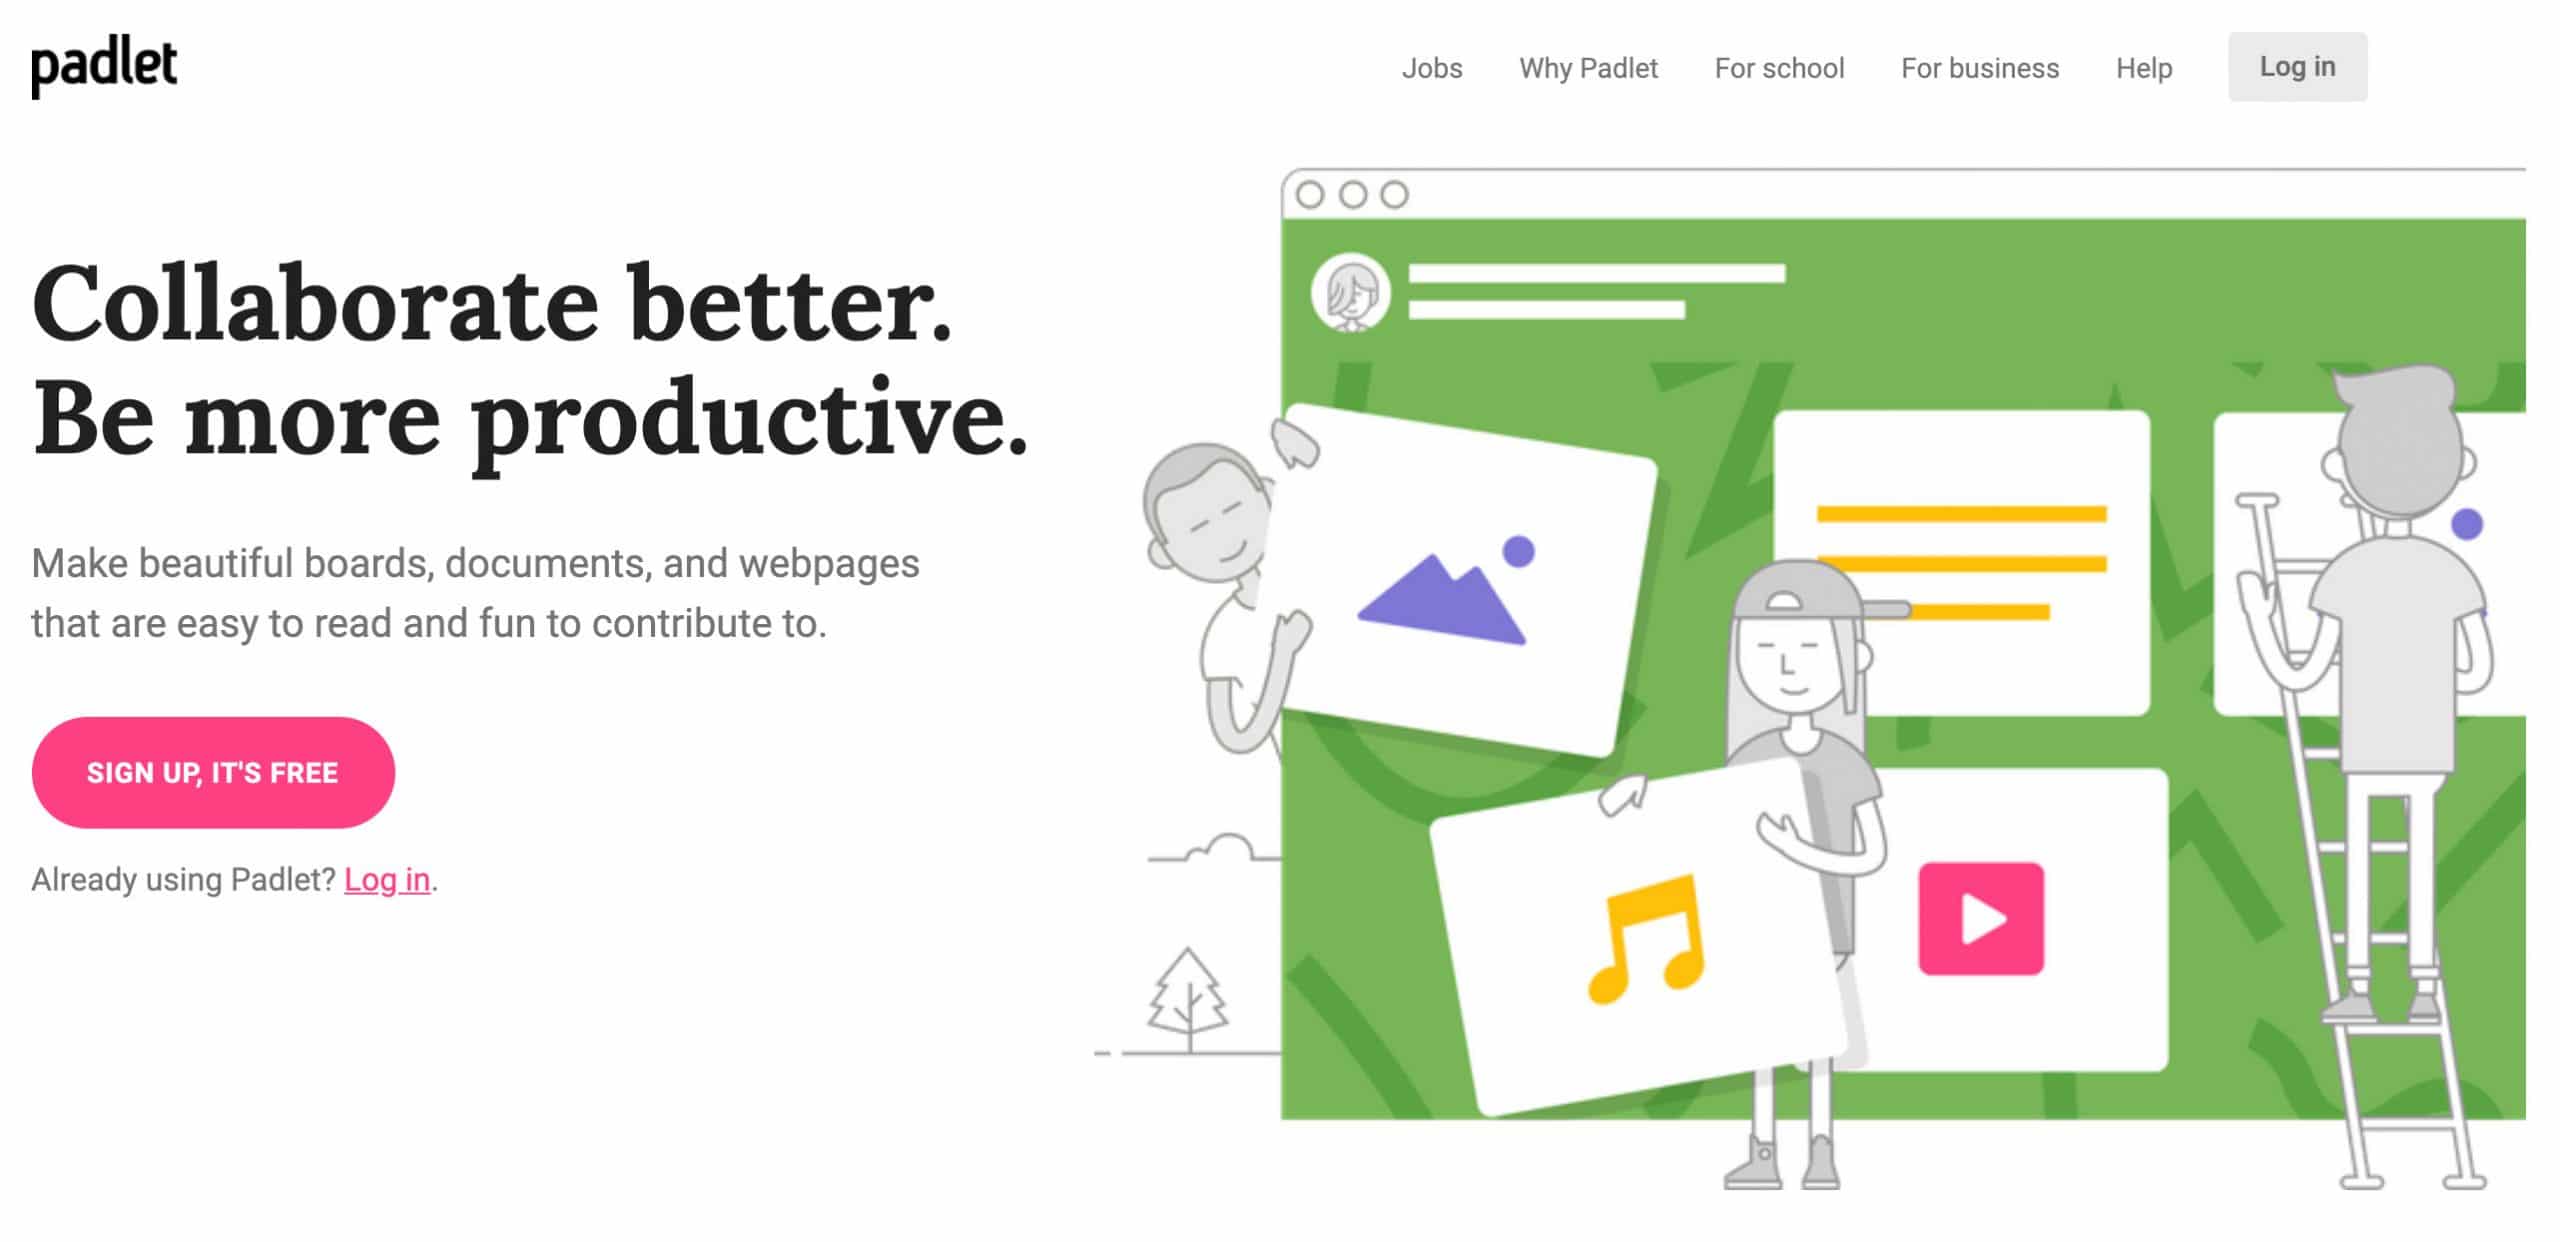
The below applications allows you to create sticky noted and other templates like affinity diagrams and others. These apps provide more tools comparing with the above tools, which are very simple:
Also, you can check my previous article (10 Online Mind Mapping Tools for Designers) for more tools.
Online Polls and Quizzes
When it comes to asking questions and writing quizzes, it is challenging for the online classes because you need to track student answers and maybe marking it for formative feedback to evaluate their engagement. Some of the goos suggestions about these tools are:
You can also use survey tools to create quizzes, ask quick questions before, during, and after the class. These tools are helpful to develop both open-ended and closed-ended questions:
Google Forms – This is a free tool that you can access from Google Drive online set of tools. The only drawback of Google Forms that it does not provide good detailed insight
Surveymonkey – This is a powerful tool to create surveys that offer significant insights and data visualisation. I used it in both surveys and exams. The only problem is that the free account is limited to nine questions, and you have limited ability to download and share results.
Work Presentation
One of the advantages of using digital tools that it can help you to move from the boring written assignments to a move creative and engaging media such as posters, video presentations, and others:
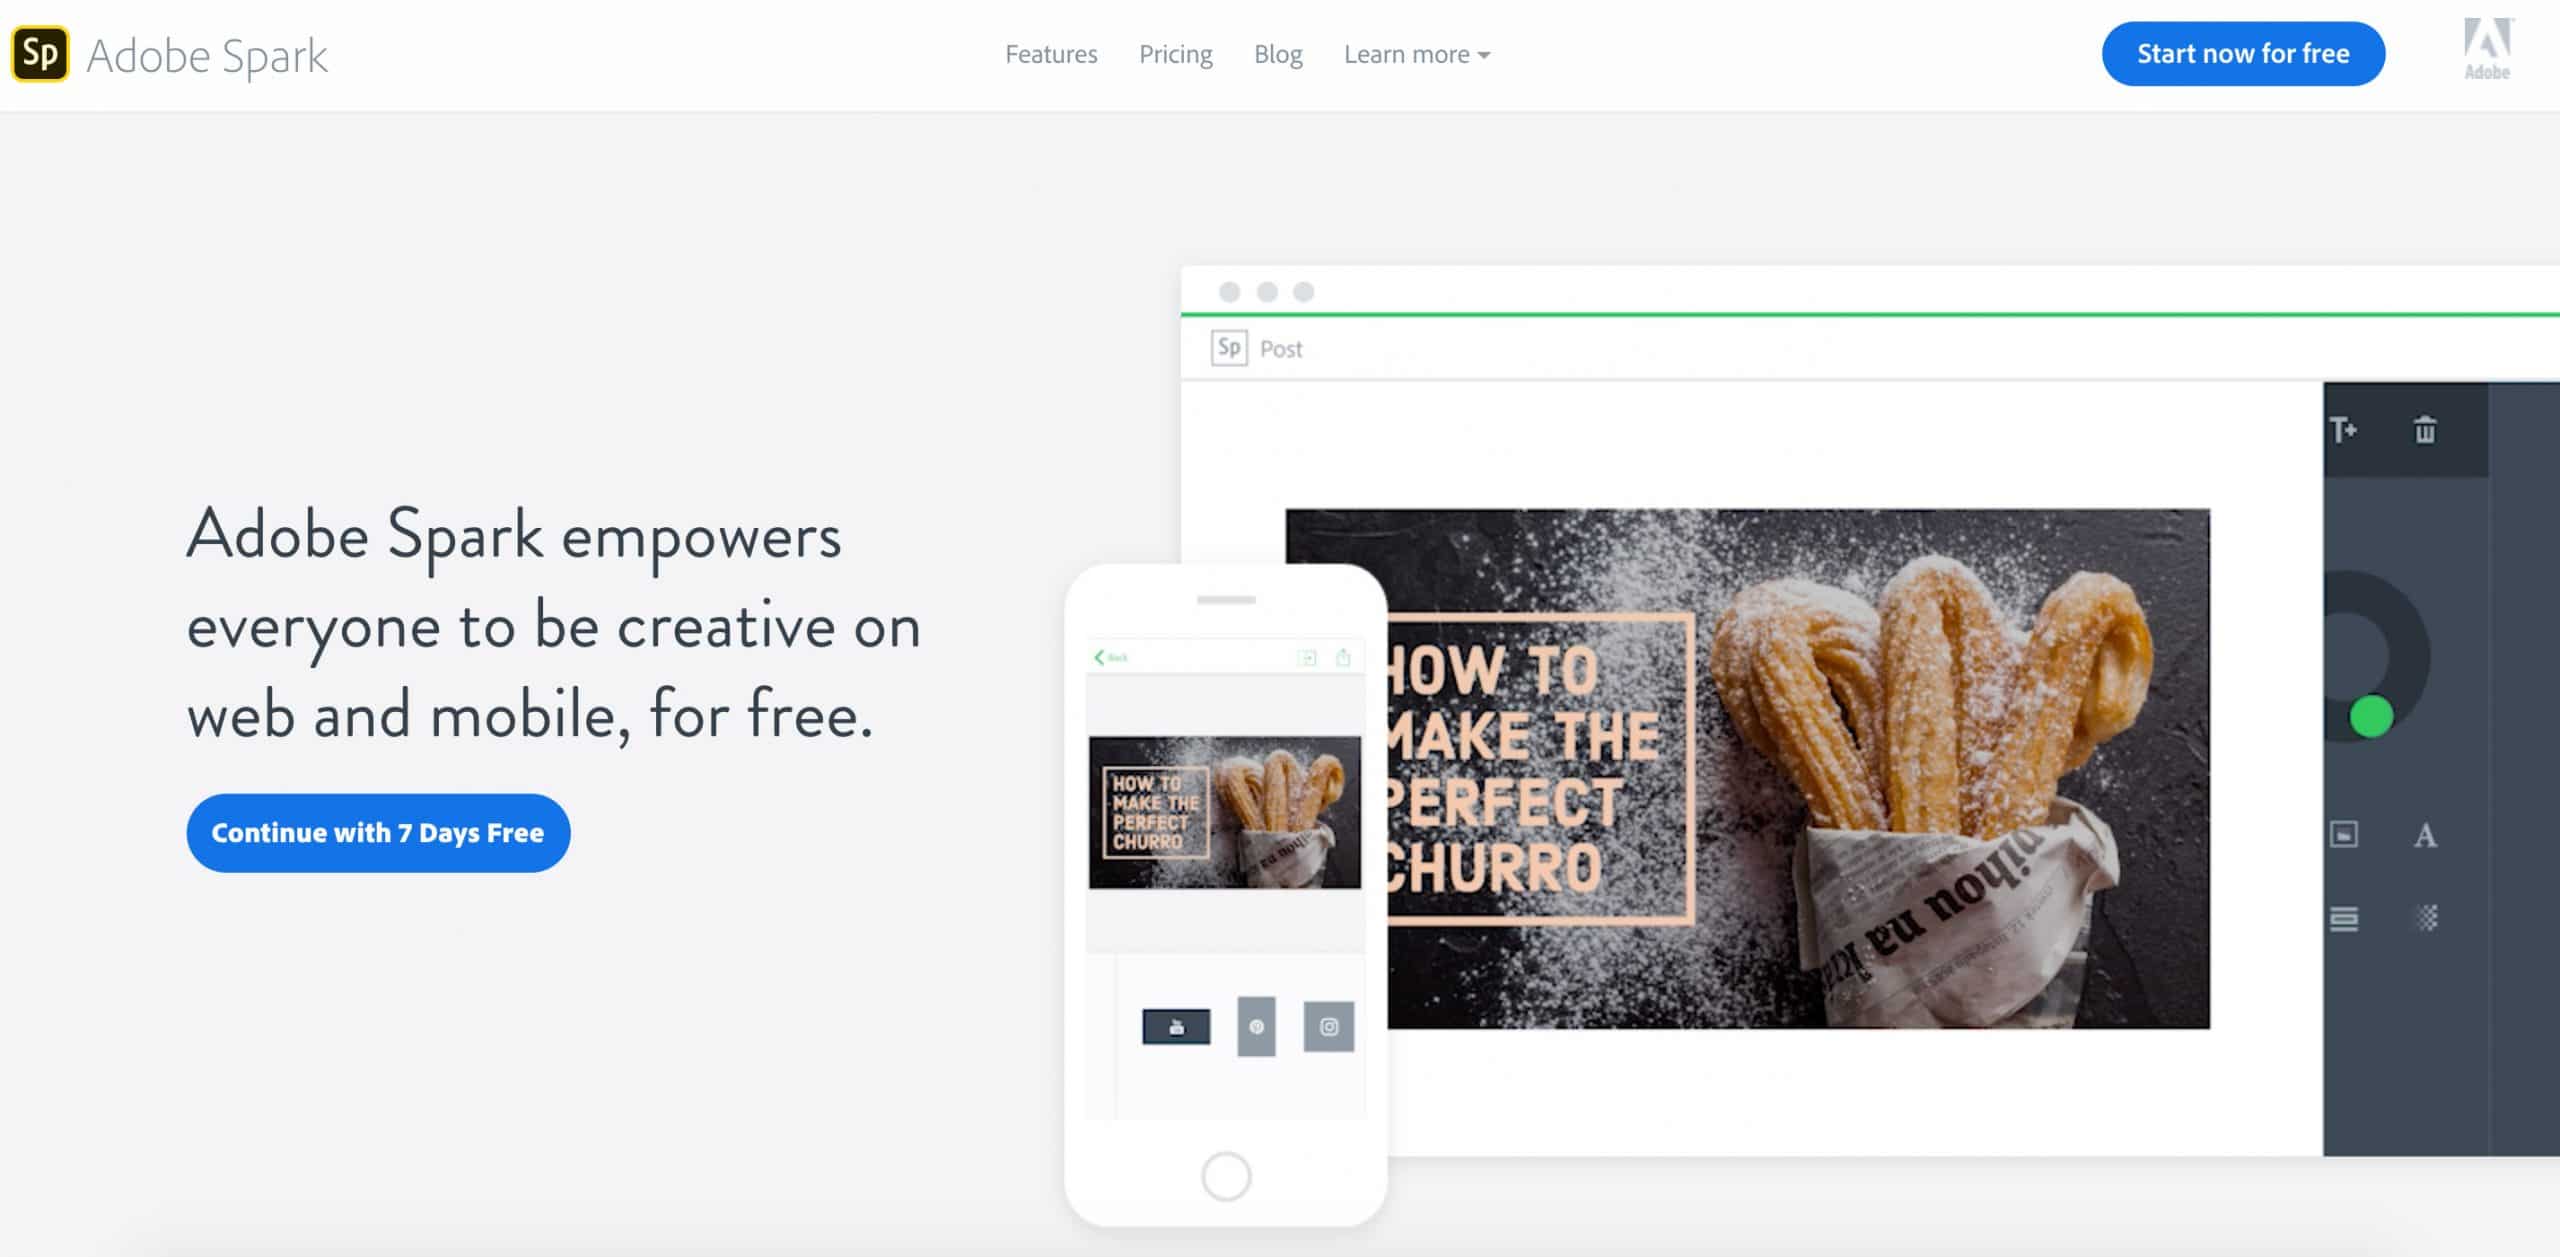
Adobe Spark – It is a free tool for educations; all you need to do is to sign in with your school username and password. Adobe Spark gives you access to three tools:
- Spark Video to create easy and quick video presentations,
- Spark Page which allows students to create webpages as part of their practice, and
- Spark Graphic which helps the students to create visual posters, printouts, and social media posts.
Canva – This is focused on virtual posters and infographics. Students can use it for summarising their progress and submitting in a visually rich medium
Prezi – This is another application that allows you to create interactive presentations
Google Slides – Google tools are always here to help students to develop presentations online. However, it doesn't provide creative ways to display presentations comparing with Adobe Spart and Prezi
Team Collaboration
When the students are working in groups, it would be a good idea to have a platform that can help them to collaborate with sharing messages and content in a quicker way than email. Below are some tools that are designed for project management, but it can extend this role to support students project management, such as:
Slack – It is a chatting-like mobile app that helps teams to work together, upload work, assign tasks and more. It presents a unique experience compared with the boring project management tools
Skype – While Skype is used for only chatting and meetings, it can be a great asset for students to meet remotely.
Toggl Plan – It allows students to set up tasks and assign tasks to each other with monitoring the weekly progress
Microsoft Teams – This tool is very similar to Slack, but it provides more features related to uploading project content, manages projects, and chat together
Sharing and Storing Content
Along with the above tools, there are plenty of methods to store content and share it with the students' team. While virtual classroom software allows you to upload content and store it. It is limited to use inside the applications. Therefore, you can use any of the below apps to store content, especially when it large and hard to share with email:
Dropbox – It provides a free account that is limited in the size of 2GB storage
Google Drive – It gives a larger space of 17 GB storage. It has a good advantage that it can integrate with Google Docs, Slides, and Sheets
Microsoft One – It provides an alternative for Google services. For students, it offers around 1TB for free storage
Although the hard times we are facing due to the outbreak of Coronavirus-19, our education experience needs to continue to deliver knowledge and expertise to our valuable students without losing a single day. There are plenty of tools and resources for distance learning and virtual classrooms. The above tips and tools can provide an opportunity for us to continue the education process without putting our students at risk of infection. This article can work as a checklist for you as you plan for your distance learning class and would like alternative tools to the physical class activities. If you know other tools or advice, feel free to share it with us in the comments area below.


Leave a Reply